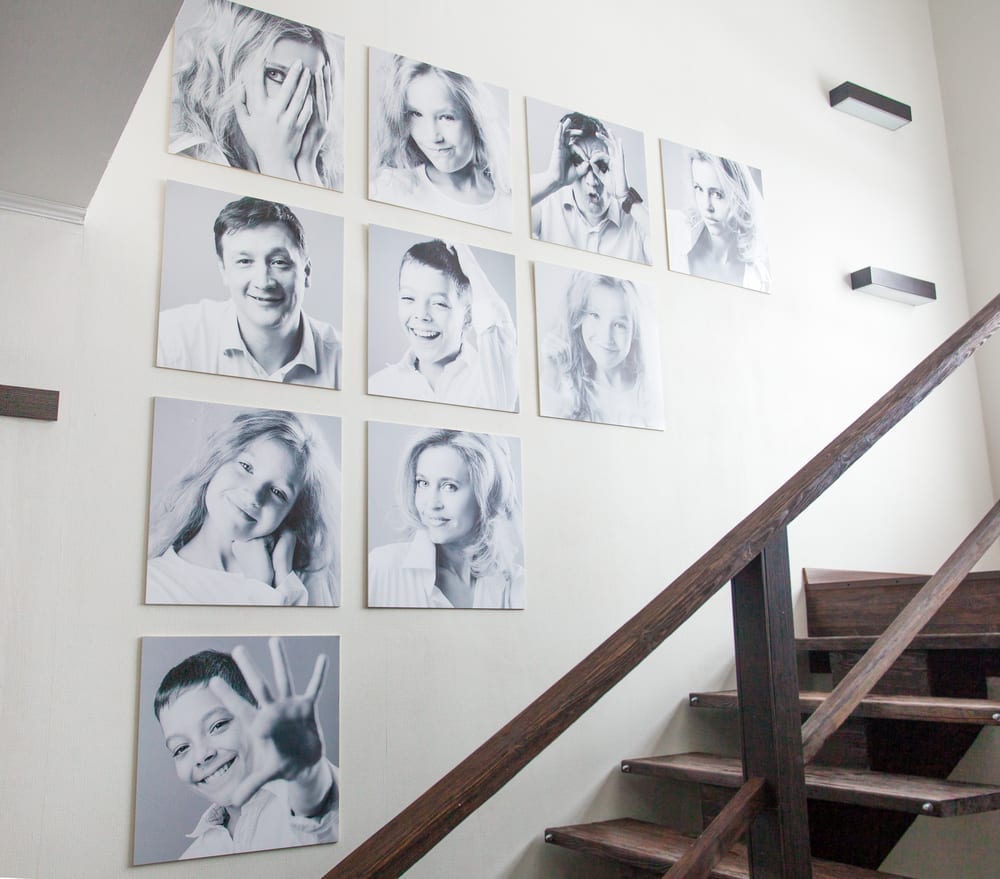
A dull, empty wall is frankly kind of depressing. But there are solid reasons not to brighten up these sad spots. Maybe you can’t risk the damage deposit with nail marks from your art installation, for example, or are all thumbs with the hammer.

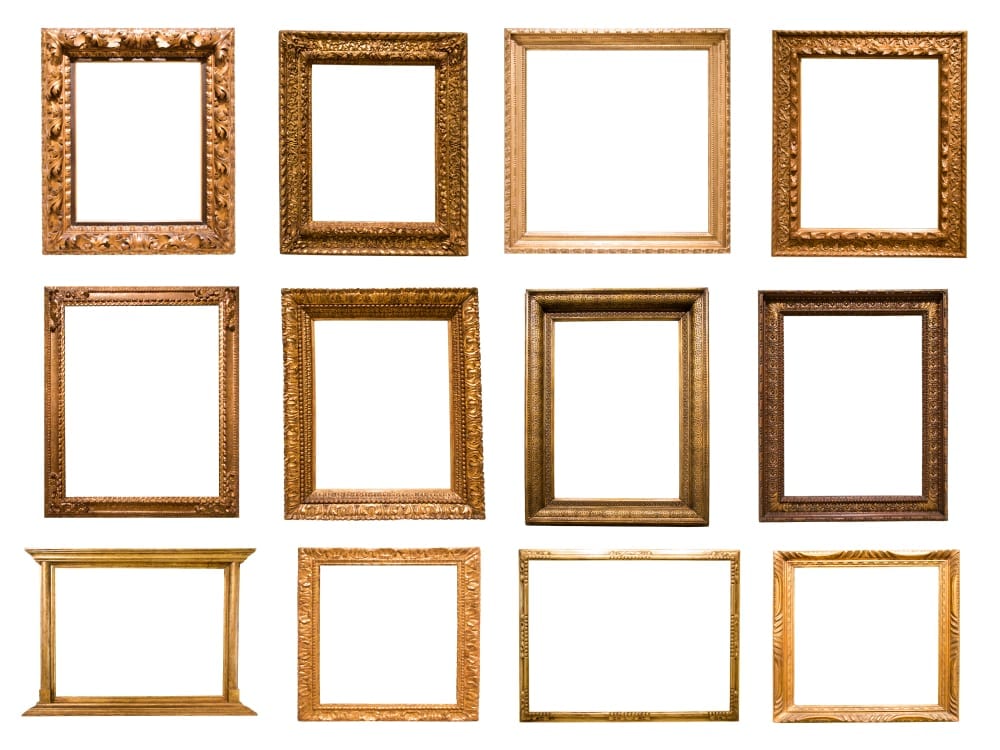
Here’s the good news: You don’t need nails or carpentry skills to display a bright and appealing array of art on your walls. A no-nail gallery requires only a level and Command Picture Hanging Strips, with masking tape optional. You’ll also need framed paintings, prints and maybe an encouraging saying or two.

If you want to take the idea and run with it, consider using ribbon hanging frames, stage frame clips or even sprays of flowers to unify the presentation. But begin your no-nail gallery project by following these steps:
1. Measure the Space
To keep yourself from getting too ambitious or ending up with a skimpy gallery, use a tape measure to compute the exact dimensions of the wall space that will host this gallery.

Make sure to note where doors open into the walls and the amount of frame-free space you’ll need above chairs and sofas to keep people from hitting their heads on the art.
2. Mark Out The Gallery Space With Masking Tape
This isn’t an absolute necessity; you can just start attaching frames and work as you go. But masking tape markers help you envision the space you have throughout the project.

Use a level to make sure the masking tape “frame” is even, and you can use it as a guide for the artworks.
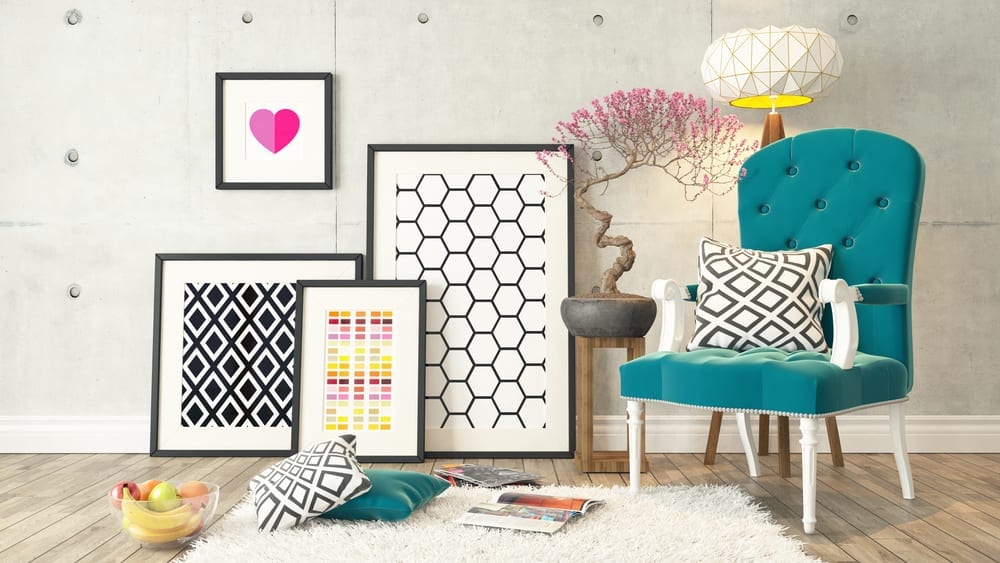
3. Practice On The Carpet
Arrange your chosen frames on the floor before you put them on the wall. This gives you a good idea of how different frames and artwork will look next to each other.
You can keep the frames on the floor as you attach each piece to the wall, or take a photo of your approved arrangement for reference. If you do take the photo, consider sending it out to just a friend or two for opinions. Any more and you’ll start doubting all your choices.
4. Cut And Peel The Command Strips
For larger or heavy metal frames, use the entire width of Command Strip. For lighter or smaller frames, cut the pieces lengthwise before cutting the strips.

Working one frame at a time, peel one side of the strips and attach them to the frame edges.
5. Press The Frames Into Place On Your New Happy Wall
For the grand finale, simply peel the protective papers from the exposed halves of the Command Strips. Hold the frame in place while a friend holds a level across the top to make sure the frame is straight. Firmly press the frame (and the strips) into the wall and move on to the next piece until your whole gallery is ready.

Consider texting one more photo of the finished product to any friends who offered advice. Then you can start eyeing the other walls since that was so simple.